

“The Book of Centuries, is a great joy to the owner, and even in these busy days it is possible to find some time, however short, to add an illustration from time to time.”
— G. M. Bernau, 1923
What is a Book of Centuries?
It is a notebook kept as a companion for reading. A place where you can illutrate and take notes of historical events, people, or objects that interest you.
In Charlotte Mason home education, the students will begin their own Book of Centuries in 4th grade or around age 10 (or whenever they can neatly keep one). This is a notebook they use during their Afternoon Occupation.
I’ve seen a lot of history timelines and Book of Centuries on Amazon, but I never saw anything that I loved the layout for, was hardback, and was within my budget.
So may I present to you, my $8 DIY Book of Centuries!
DIY Book of Centuries
Supplies:
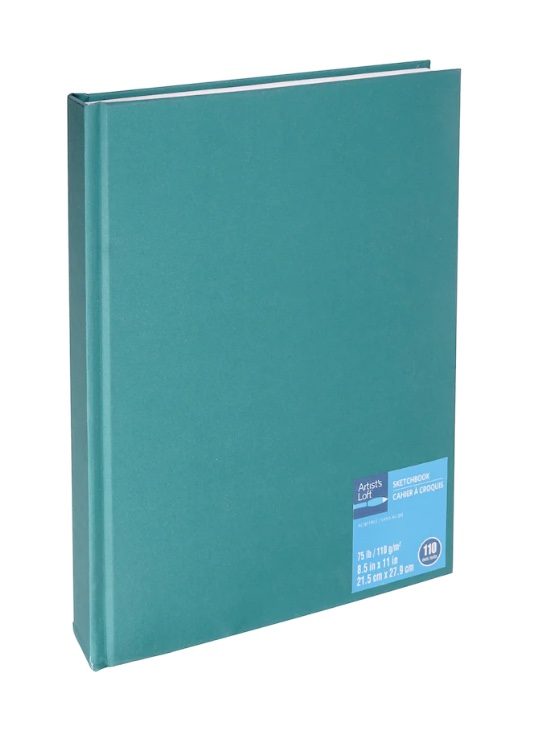
- Hard cover sketchbook (I used the Artist Loft sketchbooks for my son and I, which are available from Michael’s for $7.99 in a variety of colors.)
- Micron Fineliner Pens and/or Sharpie Felt Tip, Fine Pens
- Pencil & pencil sharpener
- Ruler
- Eraser
- Time
1. Mark pages for each century.
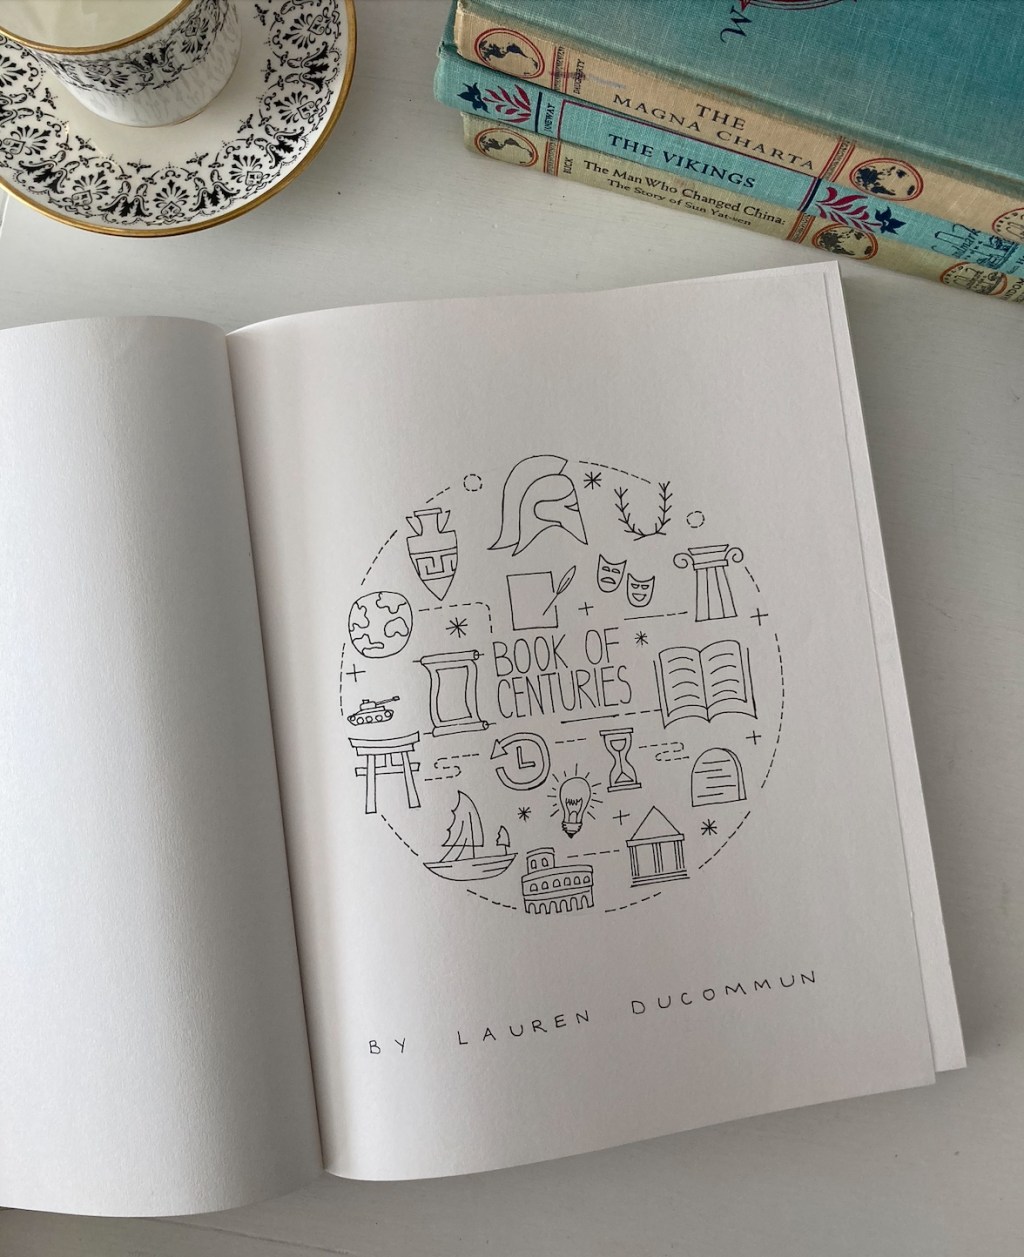
Leave the first few pages blank. You can make a title page that includes the name of the student.
I start our Book of Centuries at 4000 BC and each page represents 500 years until 1000 BC.
Starting on the left page pencil in 4000 BC on the top left corner, and on the right page 3500 BC. The next page, pencile 3500 BC in the top left and 3000 BC in the top right. Continue this pattern until you come to 1000 BC.
At 1000 BC, each page represnets one century (100 years). So on the top left corner, write 1000 BC and the top right 900 BC. This patterns continue till you reach 100 BC. On that pagespread, I write 100 BC in the top left corner, and then 1 BC in the top right corner. On the next pagespread, I write AD 1 in the top left corner and AD 100 in the top right corner. This each page increases by 100 years until AD 1600.
Starting at AD 1600, I mark each page for 50 years. So in the top left corner write AD 1600 and the top right corner write AD 1650. Then on the following page, write AD 1650 in the top left corner and AD 1700 in the top right corner. Then I decrease the years to 25 years per page.
So in the top left corner I write AD 1700, but in the top right corner, I mark AD 1725. I continue in 25 year increments until AD 2000. Then I switch to 10 year increments.
This is slightly more detailed than the average Book of Centuries, but we cover so much more history from 1600 – 2000, that I like having the extra space.
2. Draw a line down the middle of the pages.

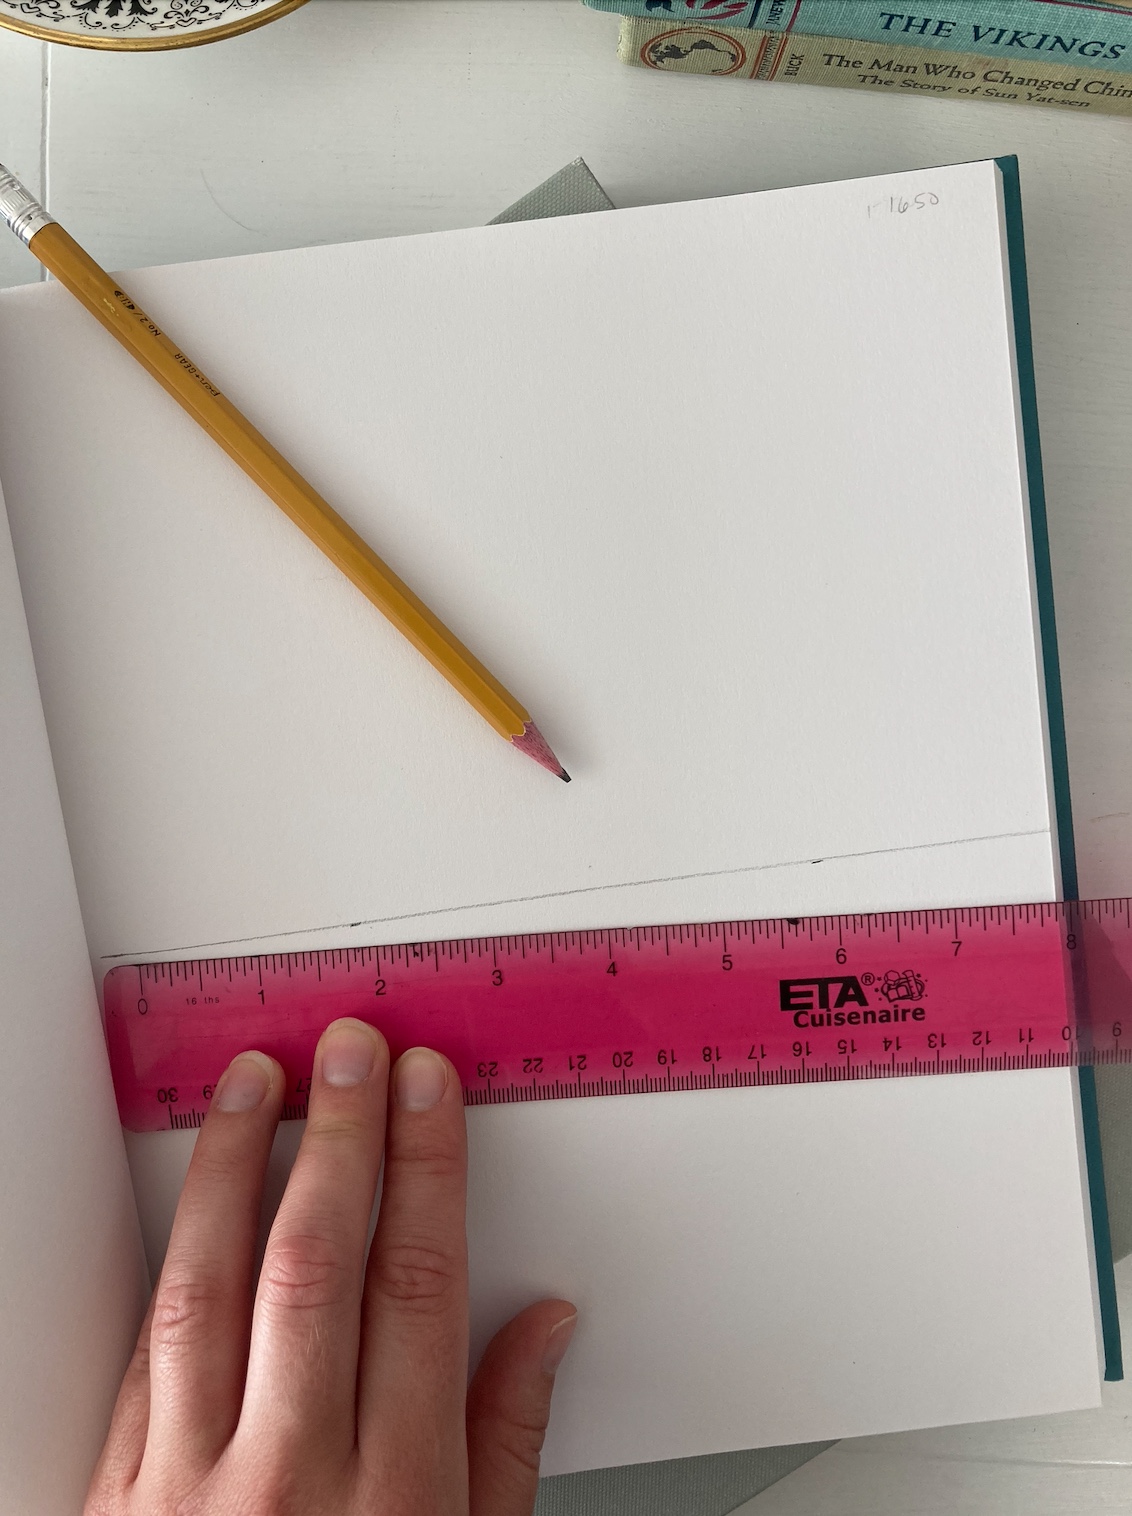
After you have marked down your pages how you would like them, you are now ready to begin adding in the timeline lines.
With your ruler, measure 5.5″ from the top of the page, and mark with a pencil in several locations on the page spread.
Then take the ruler to line up those marks and draw a line across with your felt pen.
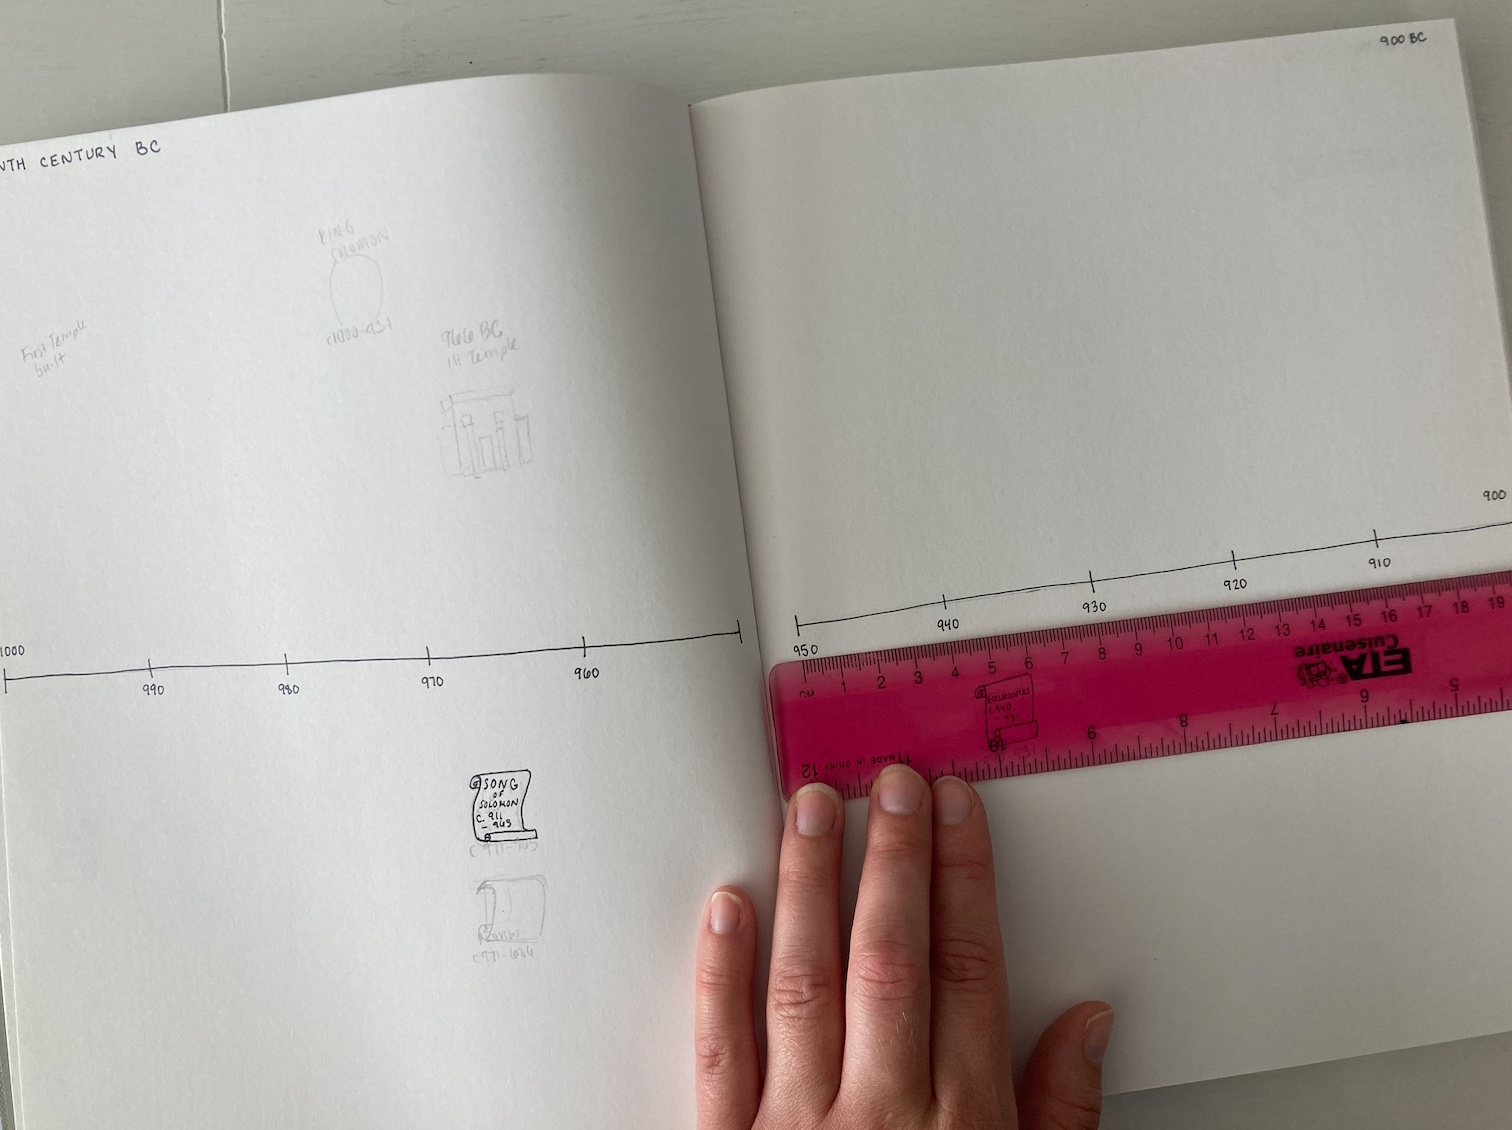
3. Mark the years.

For 25 year increments, each page spread will have 6 lines that are 3 inches apart. For example, the first mark on the page would be 1725, then 1730, 1735, 1740, 1745, and finally end at 1750.
For 50 year increments, each page spread will have 6 lines that are 3 inches apart. For example, the first mark on the page would be 1650, then 1660, 1670, 1680, 1690, and finally end at 1700.
For 100 year increments, each spread will have 11 lines that are 4 cm apart. For example, the first mark on the page will be 1000, then 990, 980, 970, 960, 950, 940, 930, 920, 910, and then finally end at 900.
For 500 year increments, each spread will have 6 lines that are 8 cm apart. For example, the first mark on the page will be 3000, then 2900, 2800, 2700, 2600, and then finally end at 2500.
Once you have marked your page, you can write the years in with your pen. When it dries, you can erase away the pencil marks.
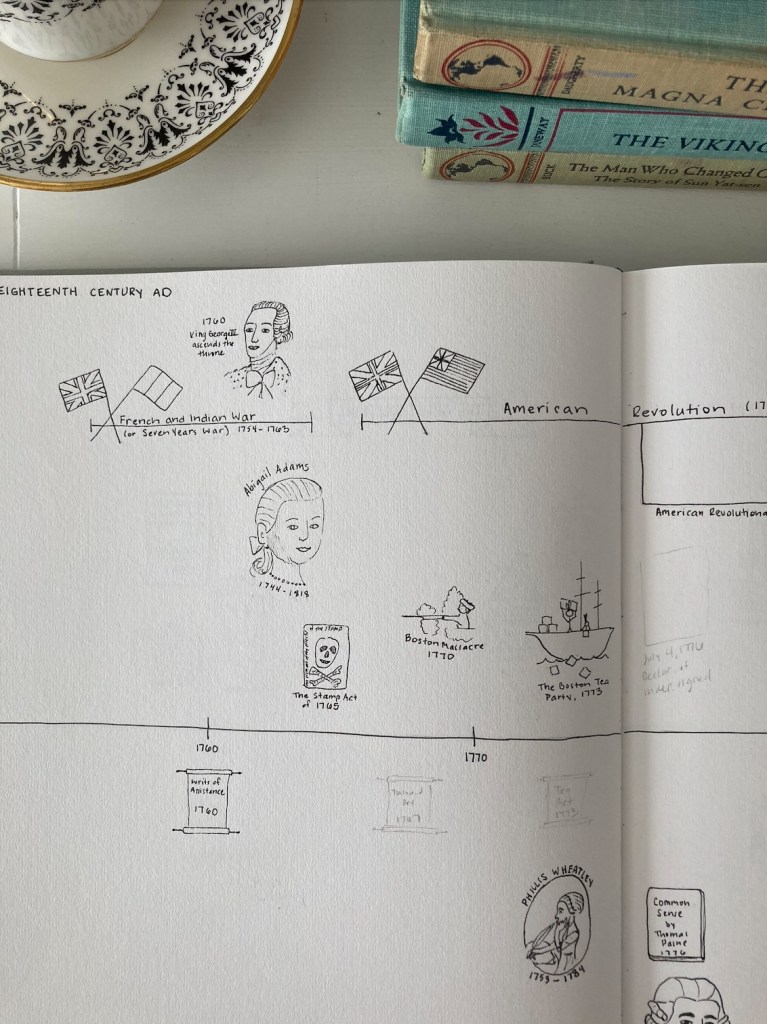
4. Start drawing!
This is where the fun begins!
What should you draw? I love seeing what happened when, so I draw books that I’ve read, paintings we’ve studied, as well as scientific discoveries and people we’ve read about. There is also room in the back of the notebooks for maps of differeant areas and from different time periods.


Do you enjoy notebooking? Tag us on Instagram so we can see your Book of Centuries!

Leave a comment